Stores Creation
Stores:
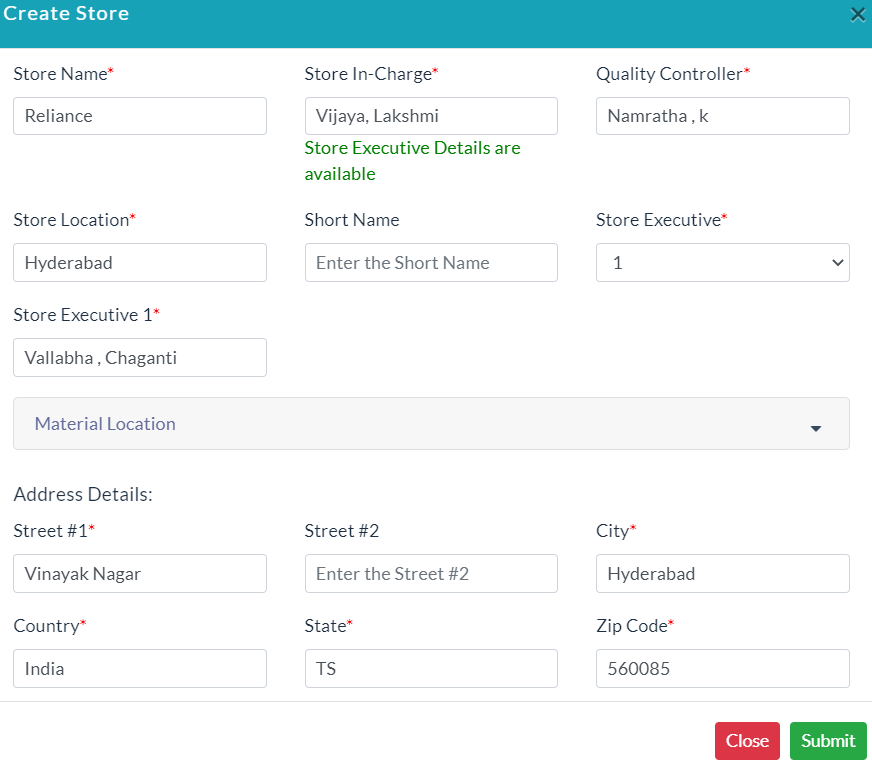
Create Store:
In the Material Management menu, click Stores Option. For adding store details follow the below steps.
- Click Create Store.
- Enter the details of the store.
- Click Submit.
Store Details:
The list of existing store details is displayed in the Store Details section.
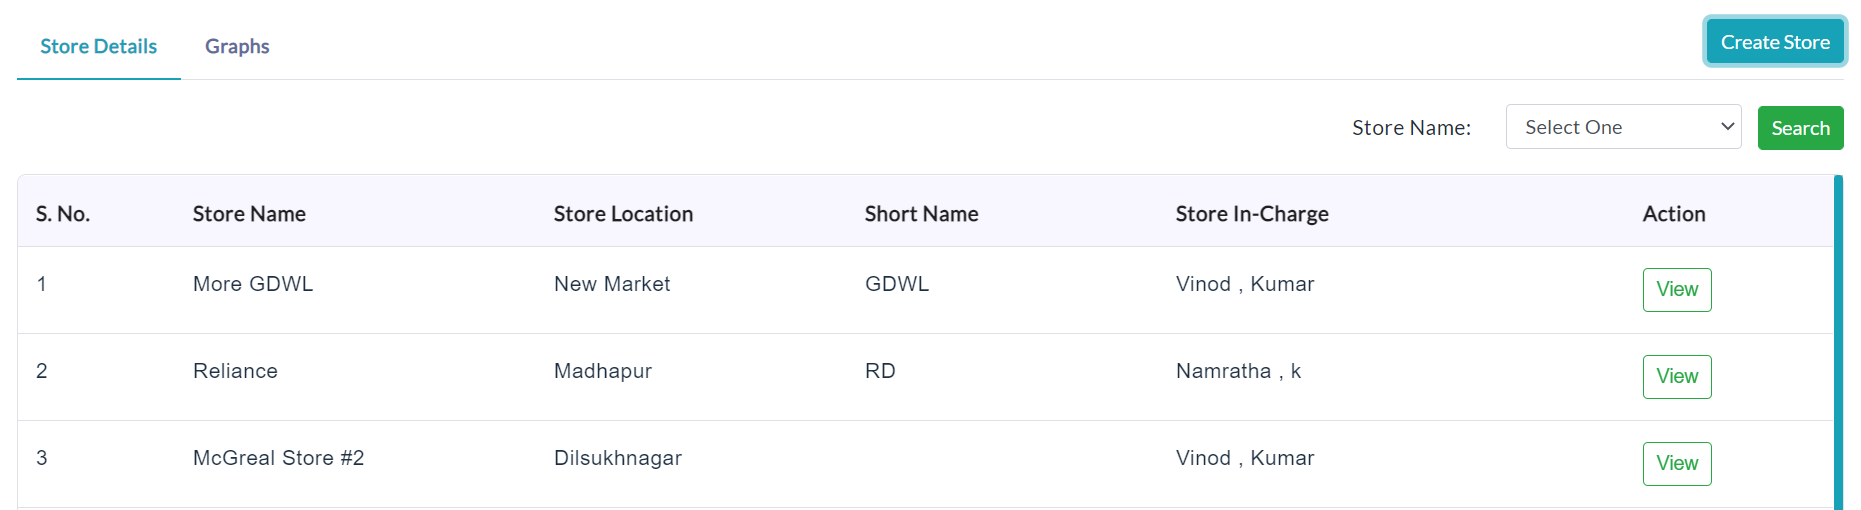
On clicking a particular store View button, the complete details of the specific store will be displayed.
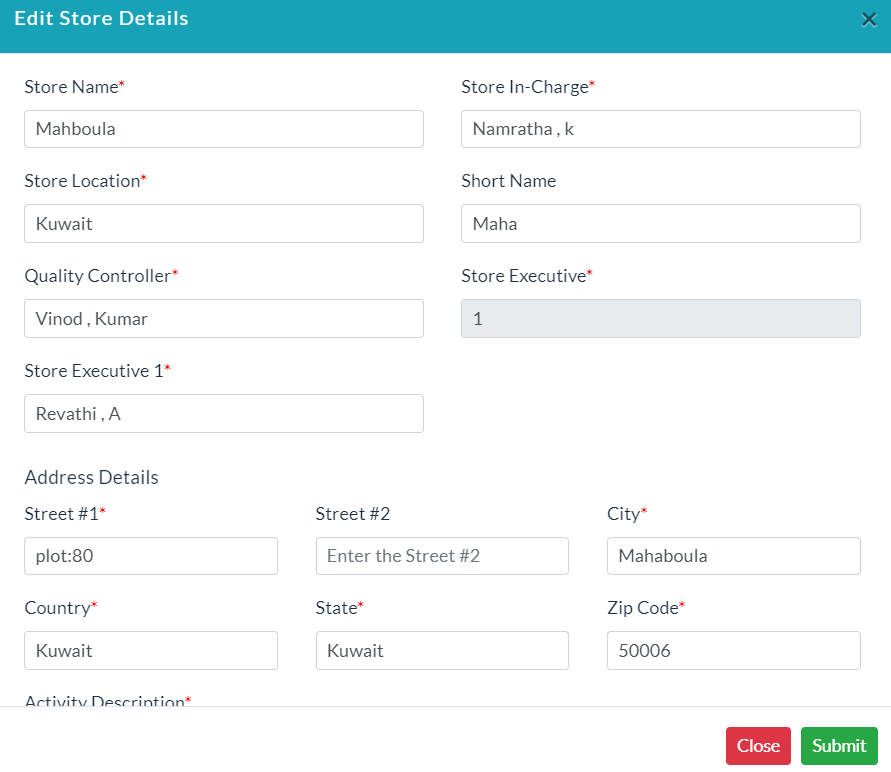
Edit Store Details:
To edit Store details:
- In the store profile details, click on the Edit button.
- Edit store details form will be displayed.
- Make your changes, then click Submit.
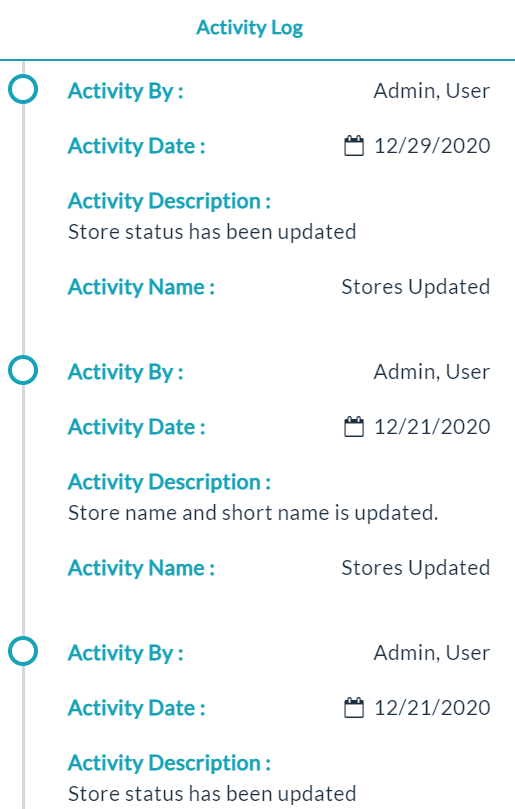
Activity Log:
- Click the View(Gear Icon) option to view details of activity log.
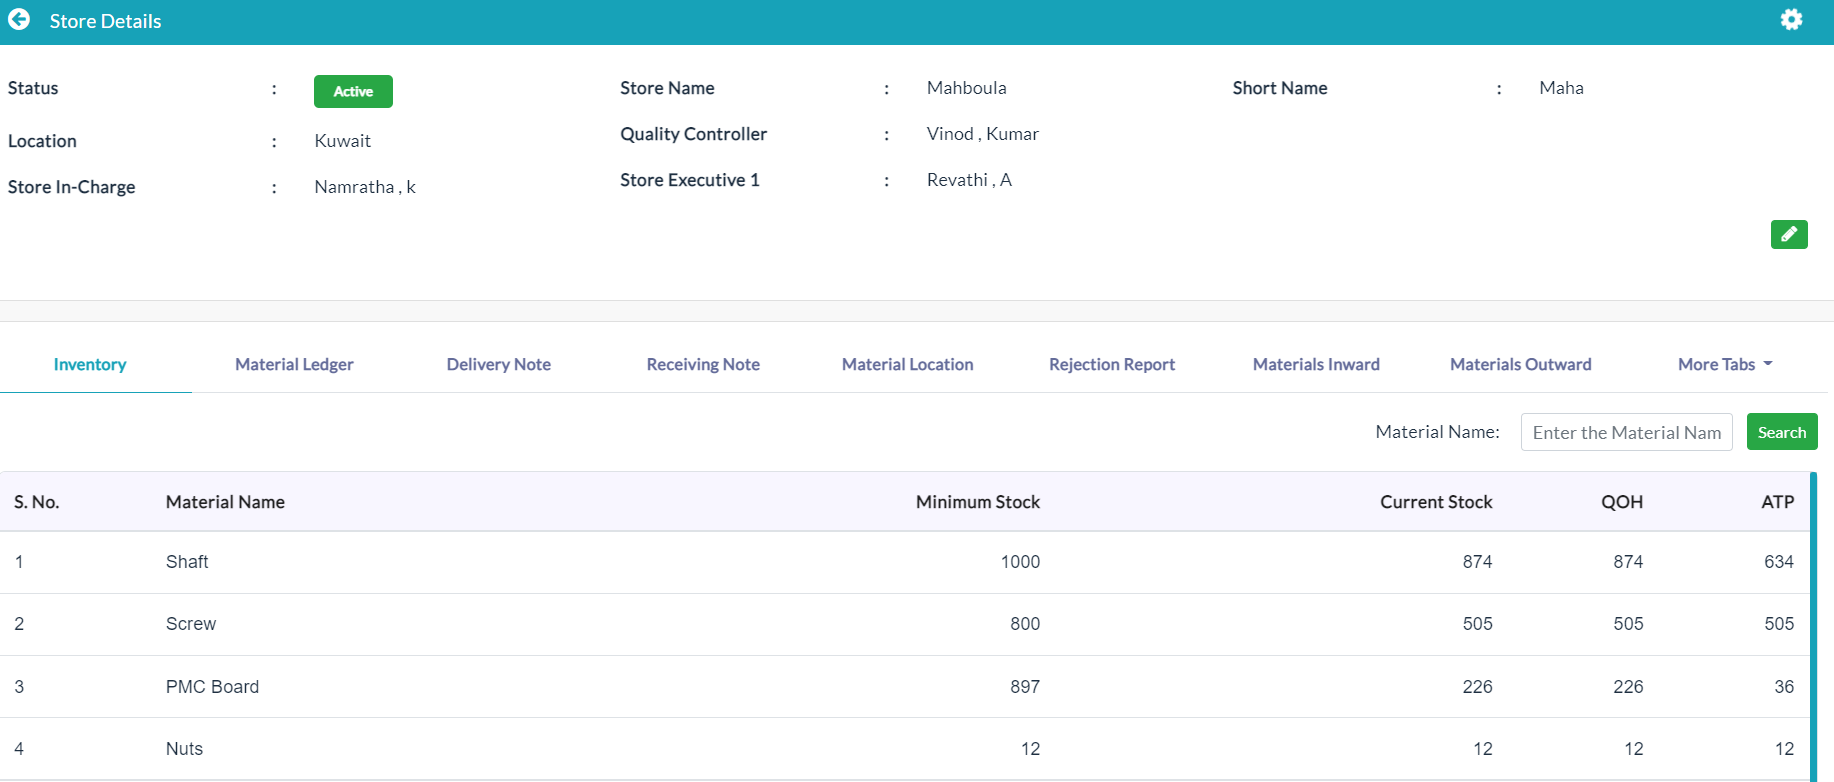
Inventory:
A complete listing of stock on hand, work in progress, raw materials, etc., is an Inventory.
Inventory related material will be displayed as shown in the below screenshot.

Material Ledger:
On clicking the Material Ledger tab, the complete details of the specific store related material will be displayed.
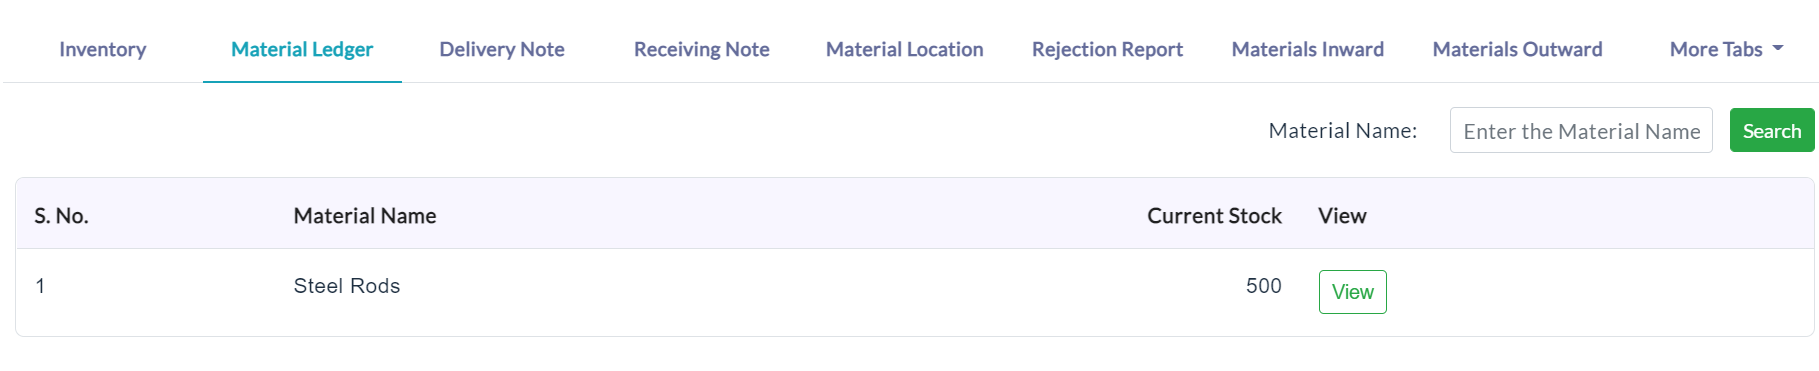
On clicking the View button, view the display of the material related opening balance, closing balance will be displayed.

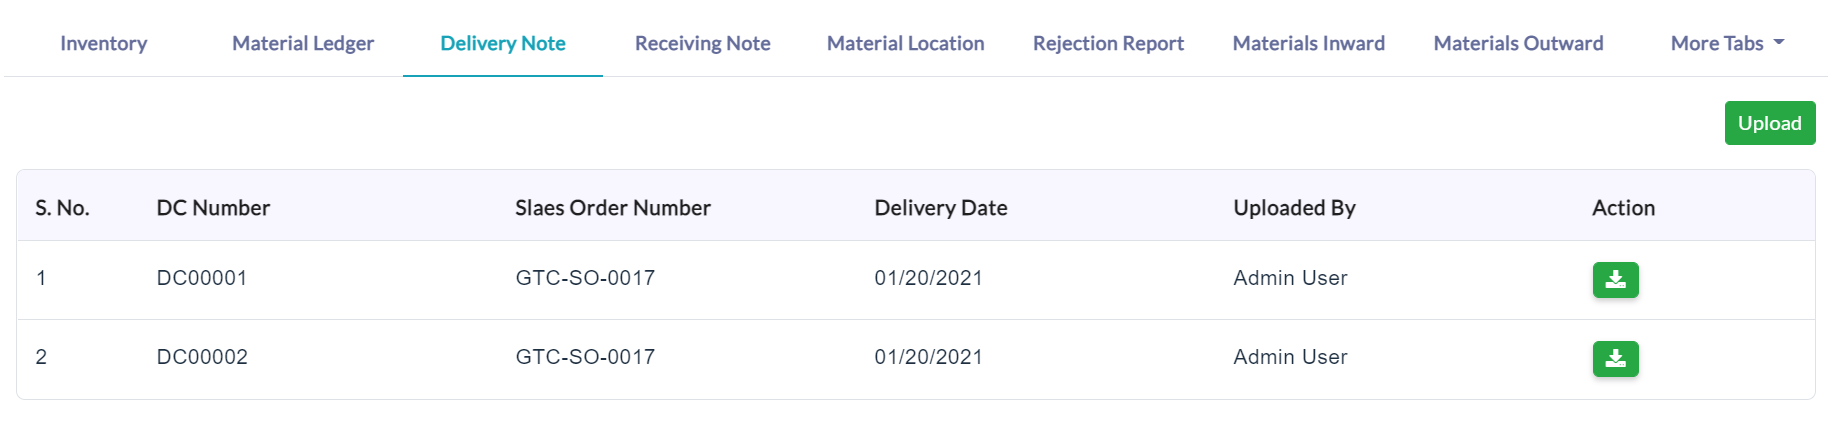
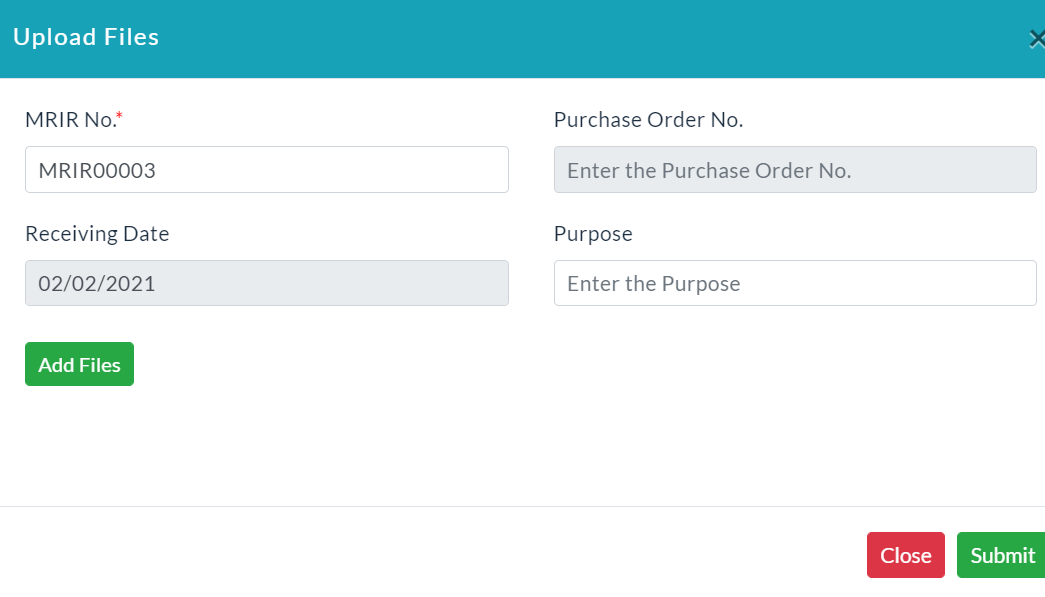
Delivery Notes:
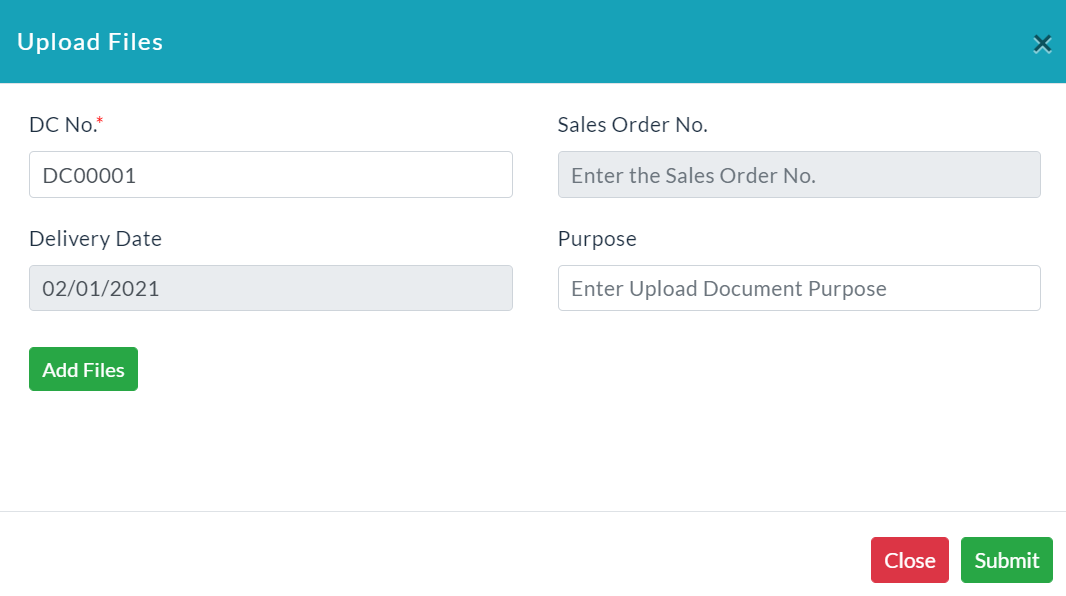
Add Delivery Note:
- Click Upload.
- Enter the details and add files by clicking on the Add Files button.
- Click Submit.
A list of delivery note details is displayed below. In the Action section, click on the download button for downloading the delivery notes.
Receiving Notes:
Add Receiving Note:
- Click Upload.
- Enter the details and add files by clicking on the Add Files button.
- Click Submit.
A list of receiving note details is displayed below. In the Action section, click on the download button for downloading the receiving notes.

Material Location:
On clicking the Material Location tab, the complete details of the specific store related material location will be displayed.
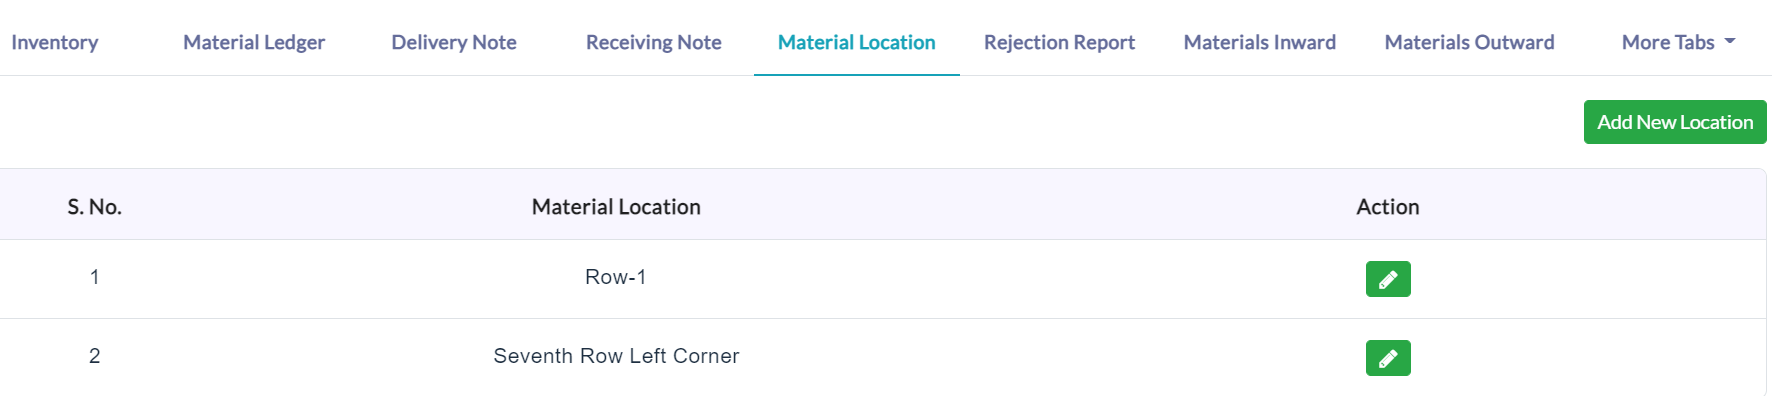
Add New Location:
- Click Add New Location.
- Enter the details of the material location.
- Click Submit.

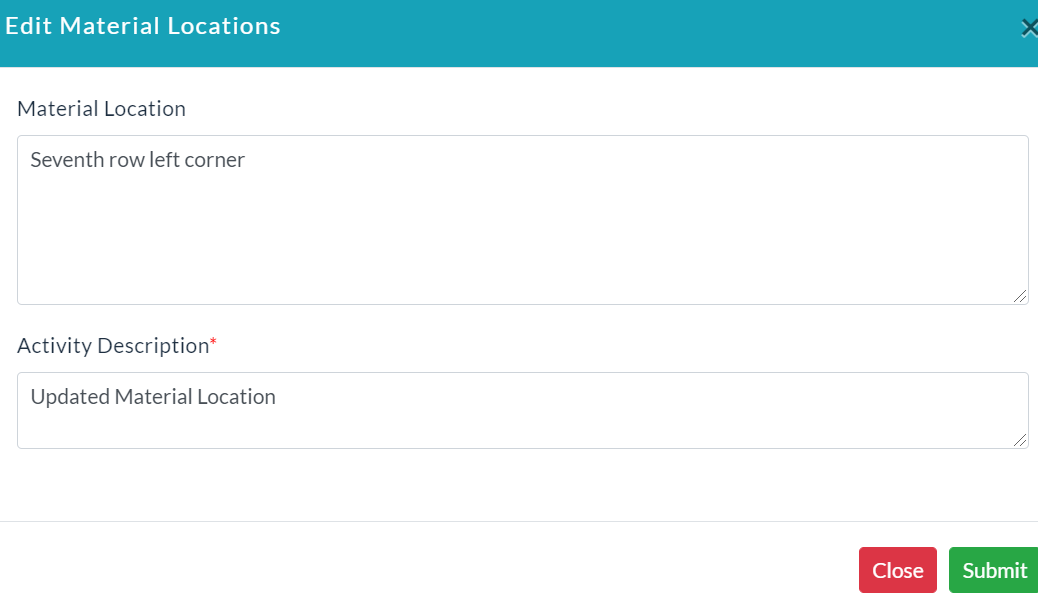
Edit Location Details:
- In the material location details, click on the Edit (Pencil Icon) option.
- Edit location details form will be displayed.
- Make your changes, then click Submit.
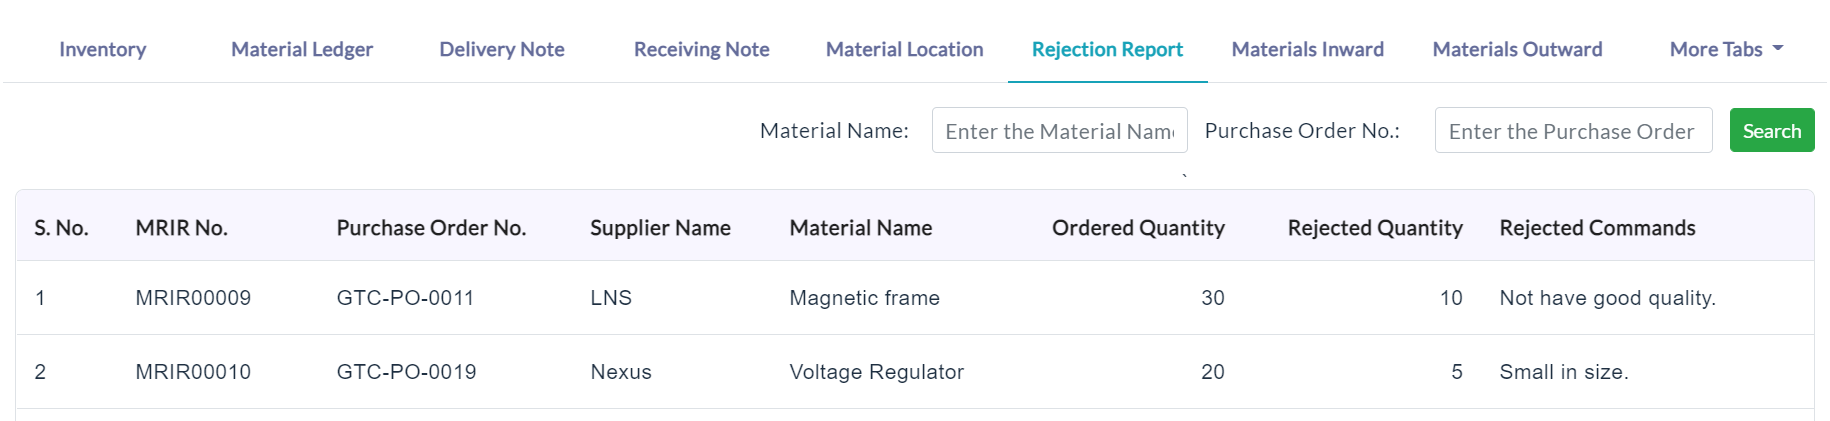
Rejection Report:
Click the Rejection Report tab, the rejected materials details are displayed with specific sections.
Material Inward:
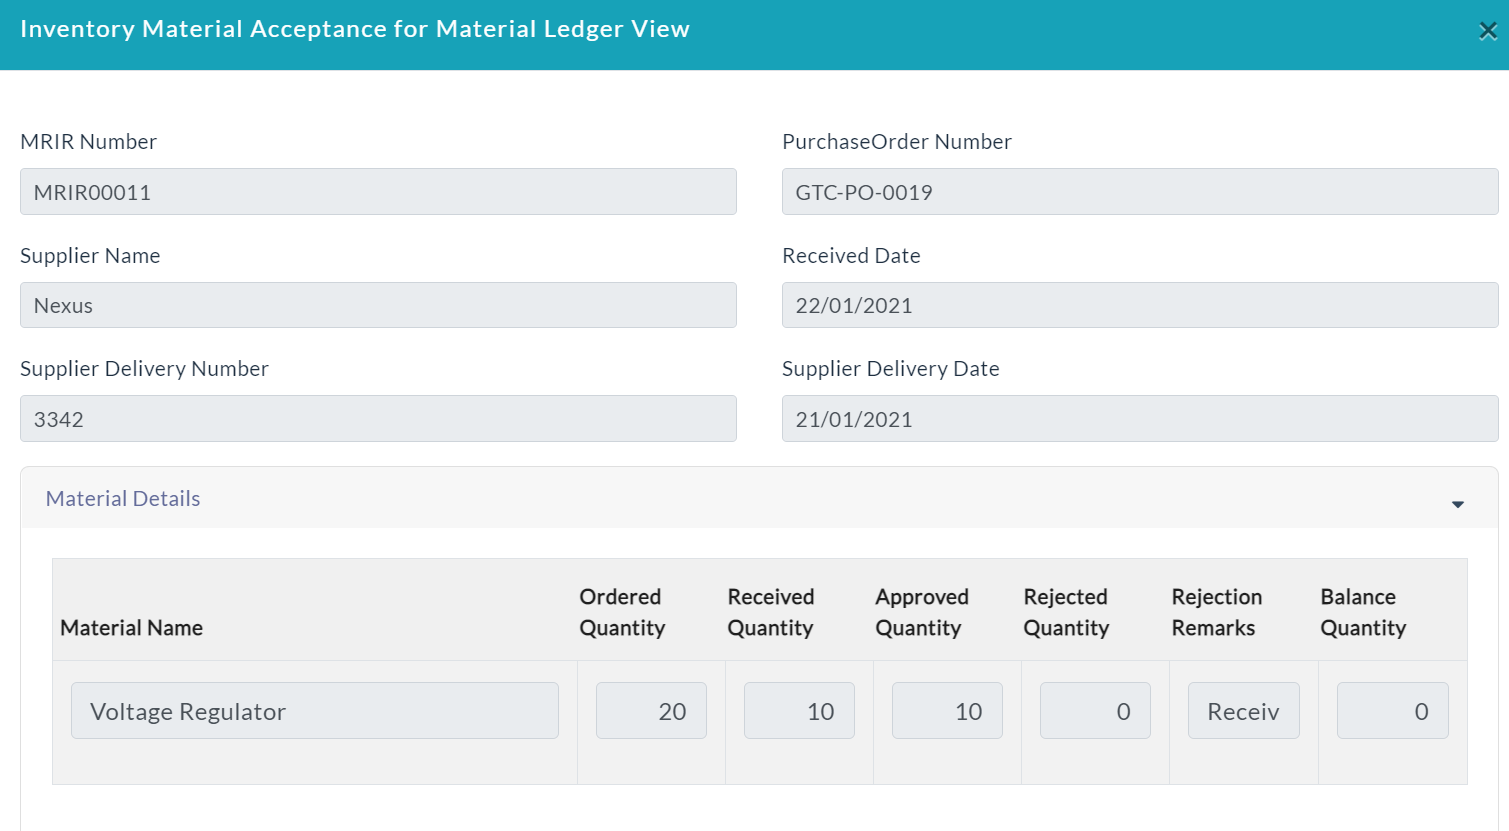
Click the Material Inward tab, it displays the QC approved materials list.
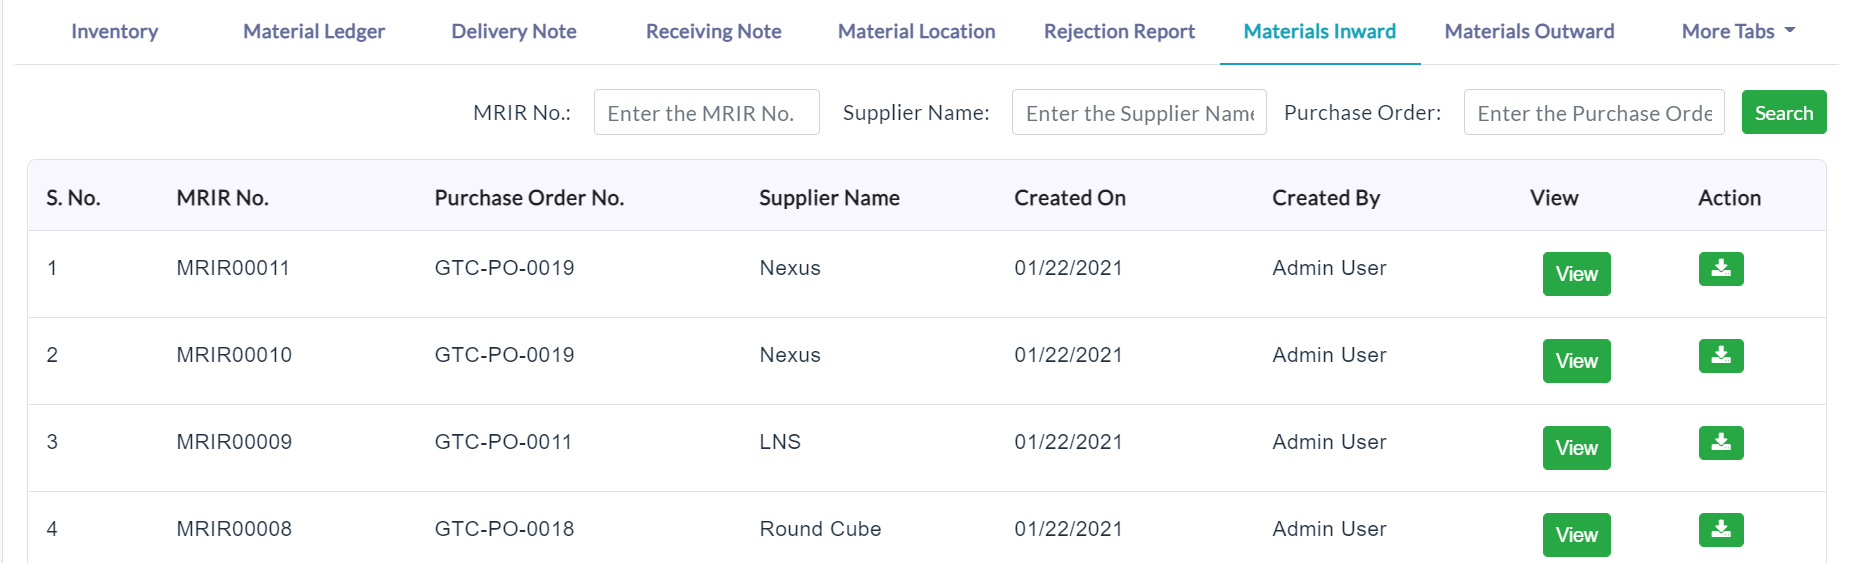
On clicking the View button, it views the complete details of the QC approved materials.
Material Outward:
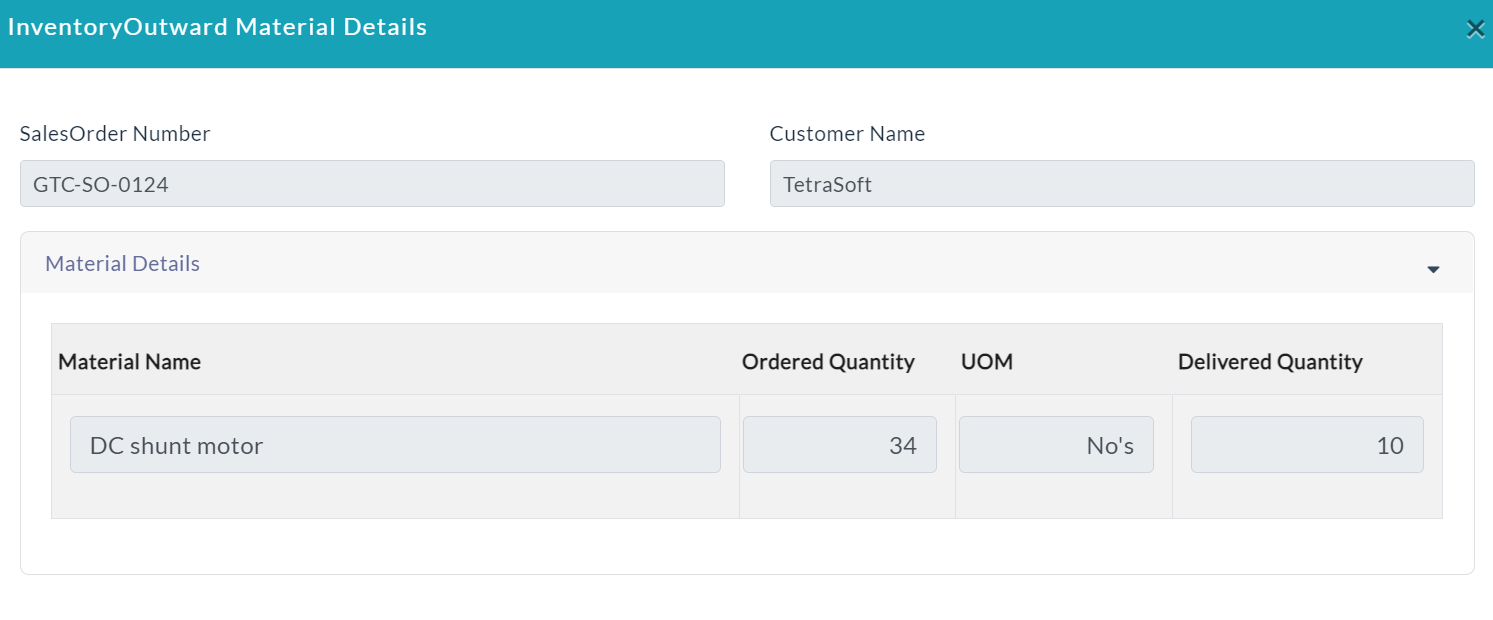
Click the Material Outward tab, it displays the QC (Quality Controller) approved materials list.
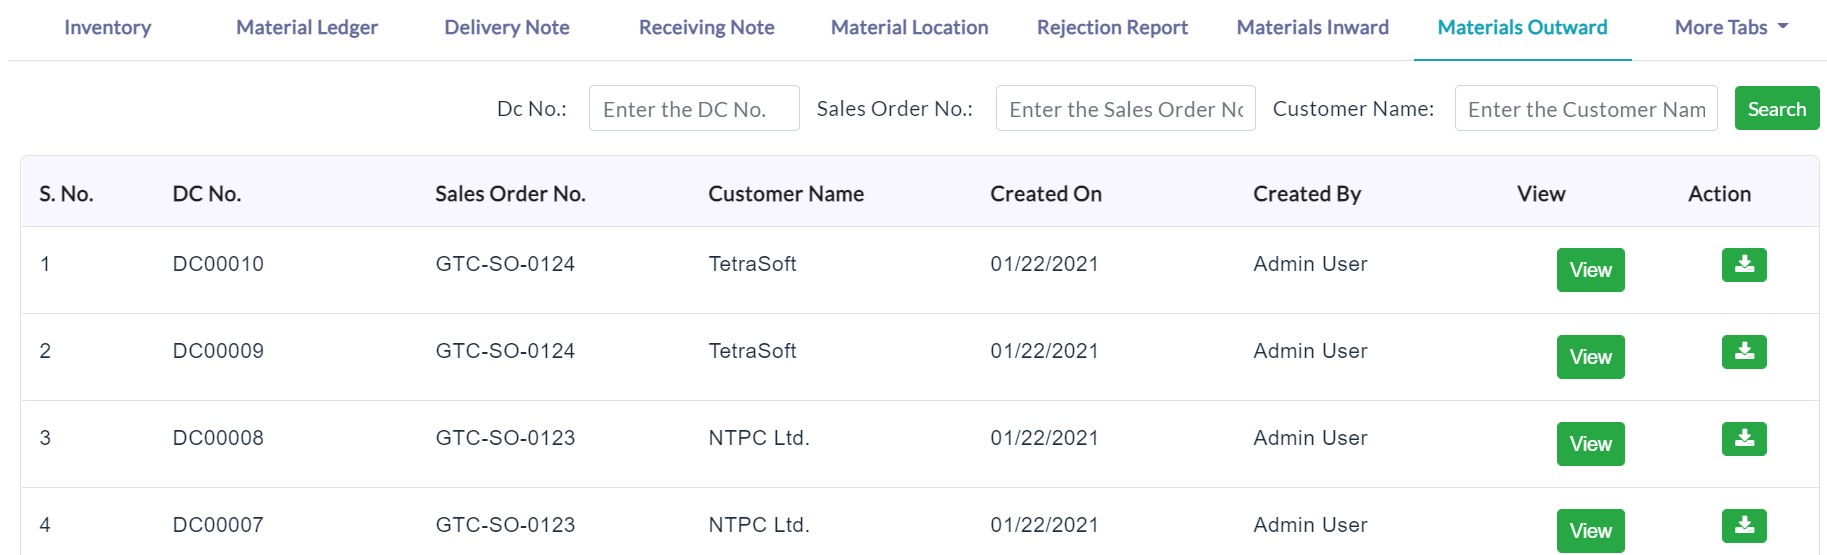
On clicking the View button, it views the complete details of the QC approved materials.
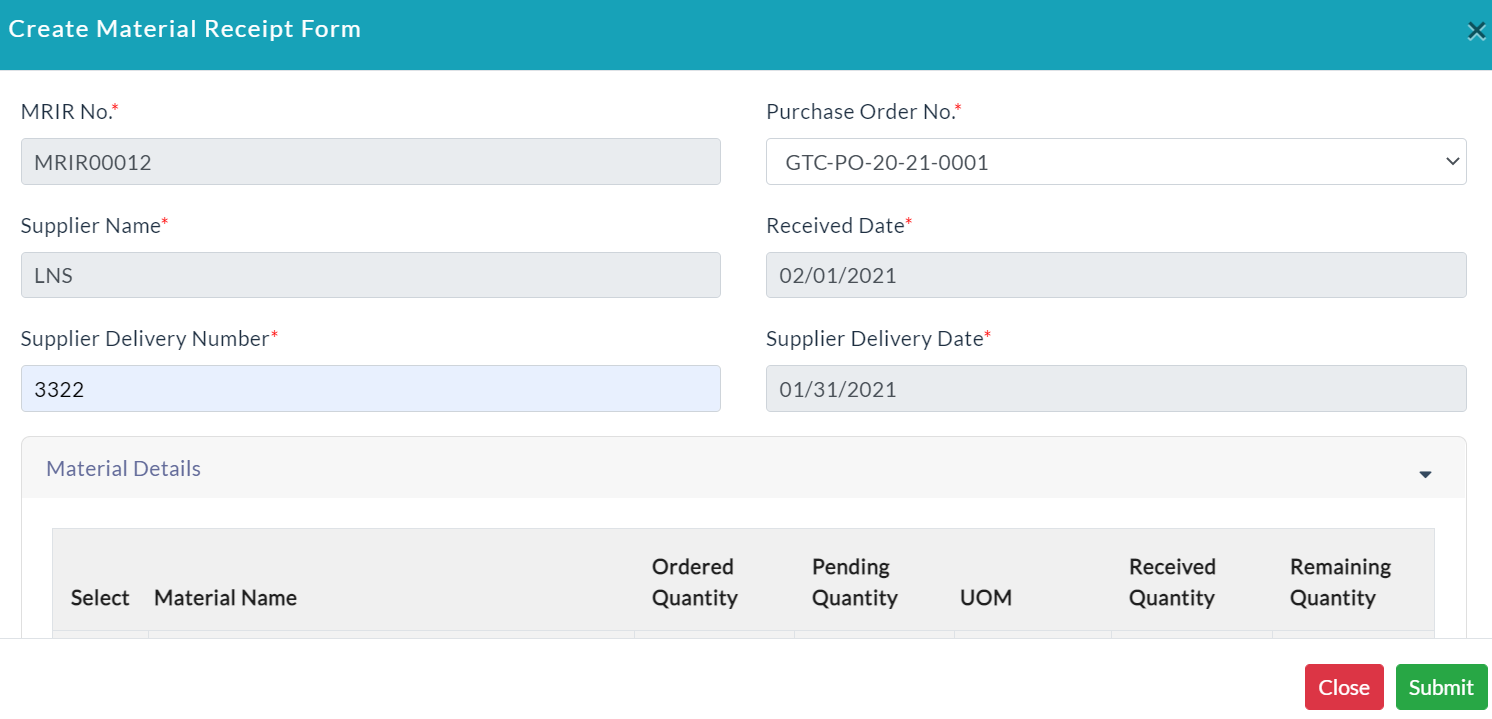
MRIR (Material Receiving Inspection Report):
Generate Material Receipt:
- Click Generate Material Receipt.
- In the purchase order number drop-down, it displays the approved purchase order numbers.
- Enter the required data.
- Click Submit.
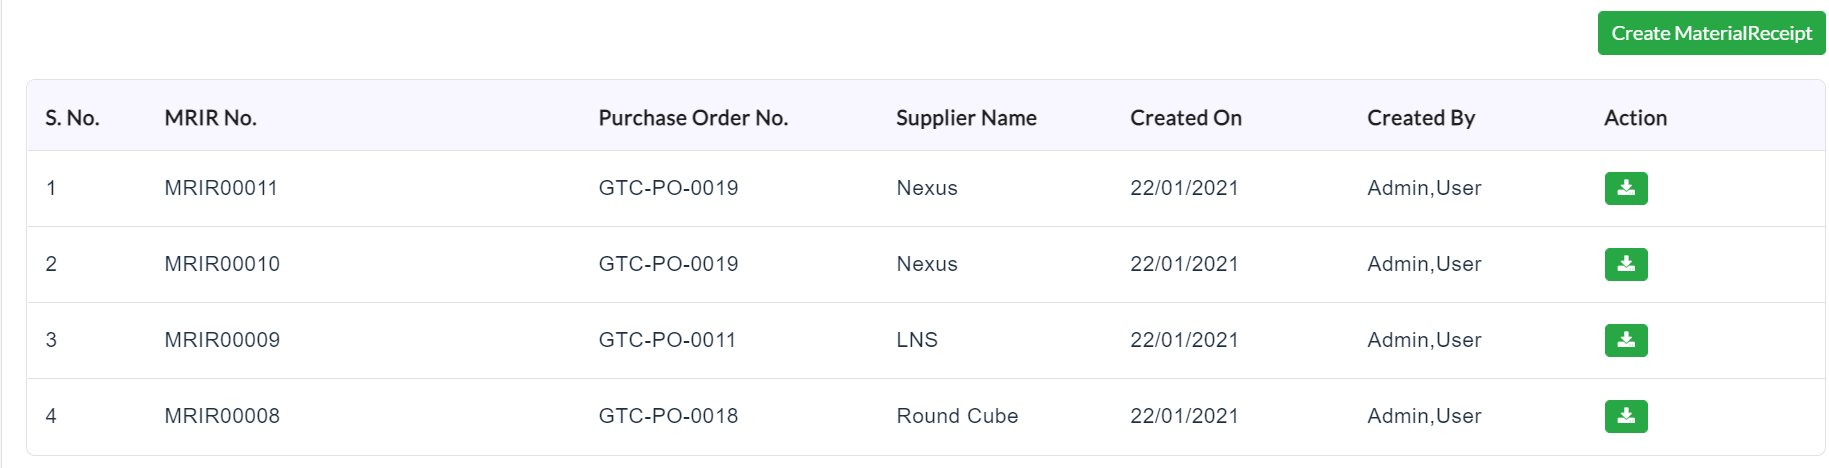
The list of material receipt details is displayed as shown in the screenshot.
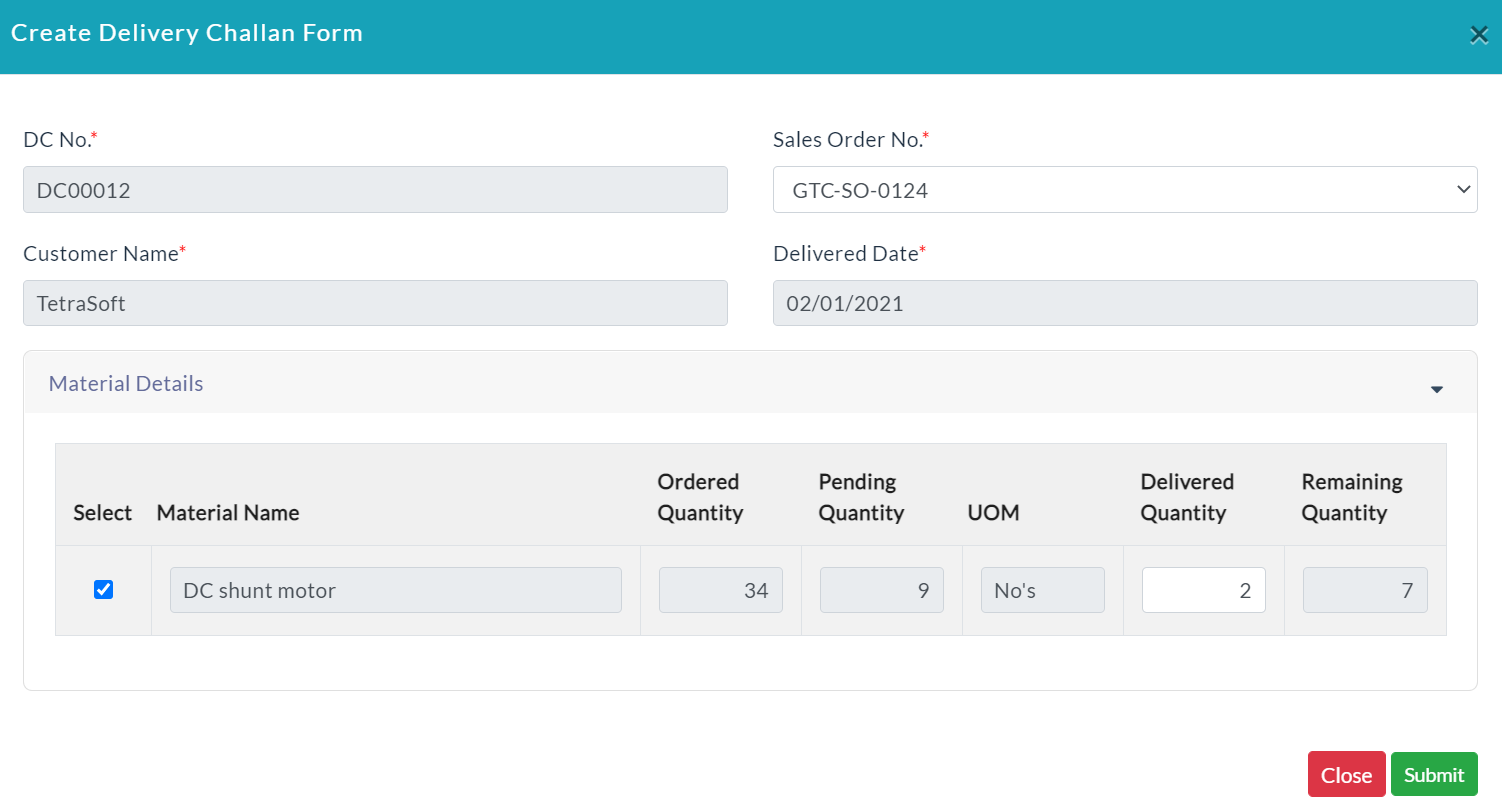
DC (Delivery Challan):
Add DC:
- Click Generate DC.
- Enter the required data.
- Click Submit.
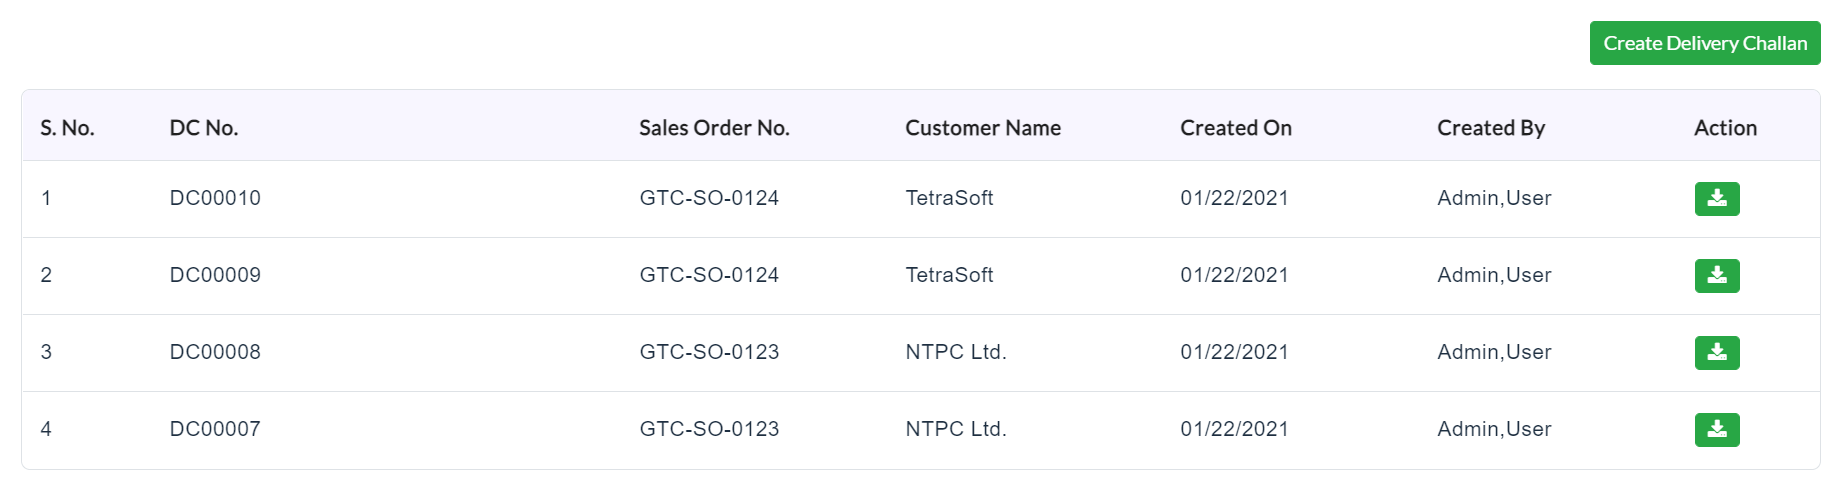
On clicking the DC tab, the complete details of the specific store-related DC will be displayed.
Created with the Personal Edition of HelpNDoc: Full-featured Kindle eBooks generator